I Saw an Edison lamb built into a piece of wood on Instagram that I liked. I though it was cool and decided to make my own version. Since the lamp does not have a cover, I built in a dimmer switch.
Here is what it looks like off.

And here it is with the bulb at its lowest level. It is a dimmable LED bulb so it doesn’t use much power, won’t break easily, and it is cool so I don’t have to worry about the wood getting too hot.
 The piece of wood is from a branch that broke off our carrotwood tree. I cut it to size and polished the top. There are two holes; one for the bulb and one for the dimmer.

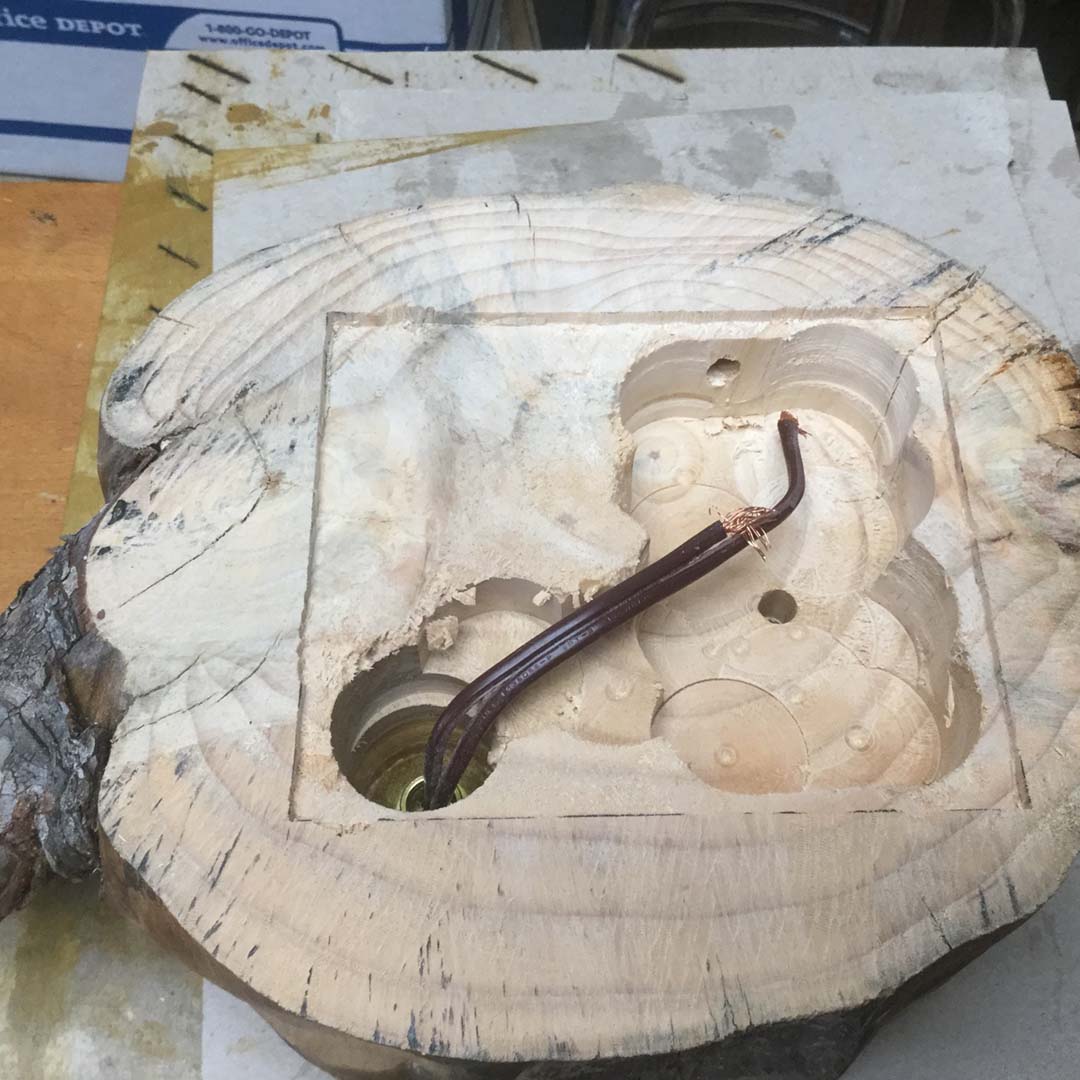
In the bottom I had to carve out a place for the dimmer and a slot to run the wires. I then used a router bit in my drill press to cut out the rectangle so I can put a 1/8″ plywood cover on it.
 I stained the wood with an oak stain and then sealed it. I turned the knob out of the same wood. Here you can see the difference in color between the bare wood and the stained and sealed wood.

All in all a successful project. It took me too long make to be something I could sell, at least for a price I think people would pay. And as my son told me, the knob is off center.
So, how much would you pay for a lamp like this?


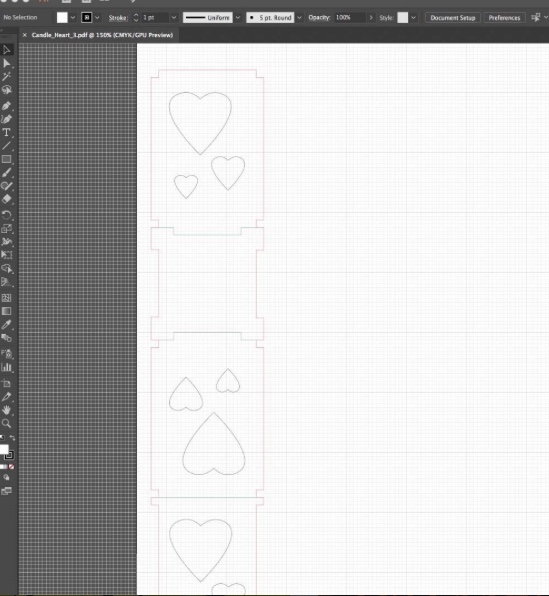
 Happy Valentine’s Day a month early.


